This page walks you through creating a new TRAX workspace (tenant) using your Xero account. The whole process takes a couple of minutes and there are two steps: connecting your Xero account, then setting up your workspace.
Start at https://app.traxapp.co.nz/auth/signup.
Before you start
You’ll need:
- An active Xero account with access to the organisation you want to connect to TRAX
- Permission in Xero to authorise third-party apps for that organisation
- A subdomain in mind for your workspace (e.g.
your-companyforyour-company.traxapp.co.nz)
Step 1 — Connect your Xero account
From the signup screen you’ll see the SignUp with Xero panel with a two-step progress indicator: Connect Xero → Setup Workspace.
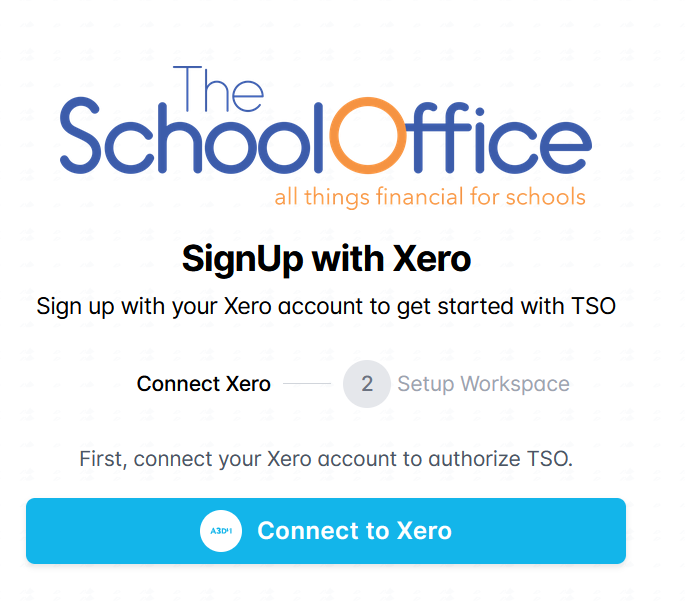
Click Connect to Xero. You’ll be redirected to Xero to authorise TSO.
Step 2 — Authorise TSO in Xero
On the Xero authorisation screen you’ll see “The School Office wants access to:” along with a list of the data and actions TSO needs.

If you have access to multiple Xero organisations, use the Select another organisation dropdown at the top to pick the one you want to connect. This is where you choose which Xero organisation will become the new TRAX workspace.
The permissions TSO requests are:
- Organisation data — view and manage business transactions, contacts, organisation settings, invoices and related documents, payments, bank transactions, and manual journals
- Reports — view aged payables and receivables, balance sheet, bank summary, budget summary, executive summary, profit & loss, trial balance, and tax reports
- User account information — your name, email, and user profile
Once you’re happy, click Continue with [organisation name] at the bottom. Xero will send you back to TRAX.
Note: You can disconnect TSO from Xero at any time via Connected apps in your Xero settings.
Step 3 — Set up your workspace
After Xero connects, the Setup Workspace step opens with the message “Great! Your Xero account is connected. Now set up your workspace.”
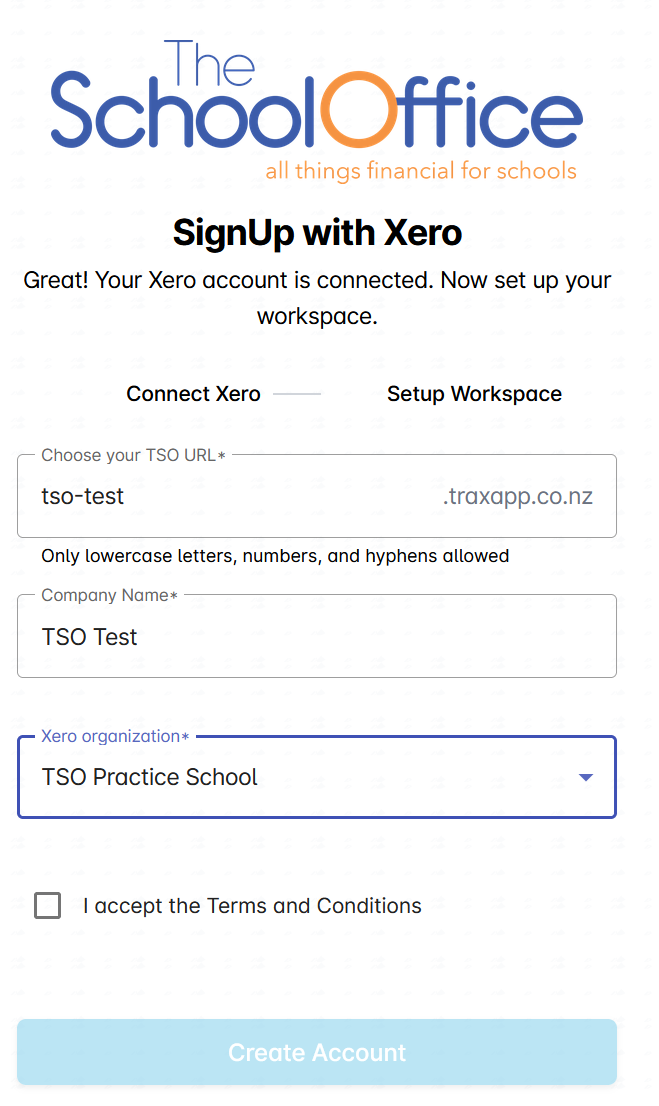
Fill in the form:
- Choose your TSO URL. This becomes your subdomain — e.g. typing
tso-testgives youtso-test.traxapp.co.nz. Only lowercase letters, numbers, and hyphens are allowed. Pick something short and memorable; this is the URL your team will use to log in every day. - Company Name. The display name for your workspace as it appears inside TRAX (e.g.
TSO Test). - Xero organization. Select the Xero organisation you authorised in step 2 from the dropdown. This is the organisation TRAX will pull financial data from.
- Accept the Terms and Conditions by ticking the checkbox.
Step 4 — Create your account
Once all fields are filled in and the T&Cs are accepted, the Create Account button becomes active. Click it to provision your new workspace.
You’ll be taken straight into your new TRAX environment at https://[your-tso-url].traxapp.co.nz, ready to start working.
Troubleshooting
The subdomain I want isn’t accepted. Subdomains must be unique across TRAX and can only contain lowercase letters, numbers, and hyphens. If your first choice is taken, try a variation.
My Xero organisation isn’t in the dropdown. Make sure you authorised the correct organisation during the Xero step. You can re-run the Xero connect step to re-authorise with the right organisation selected.
The Create Account button stays greyed out. All four fields are required — double-check the URL, company name, and Xero organisation are filled in, and the T&Cs checkbox is ticked.
For anything else, get in touch with TSO support.