The Credit Notes page lists credit notes synced from your connected Xero organisation. Use it to review credit notes over a date range, filter by credit note number or contact, and pull fresh data on demand.
To open it, click Transactions → Credit Notes in the left navigation.
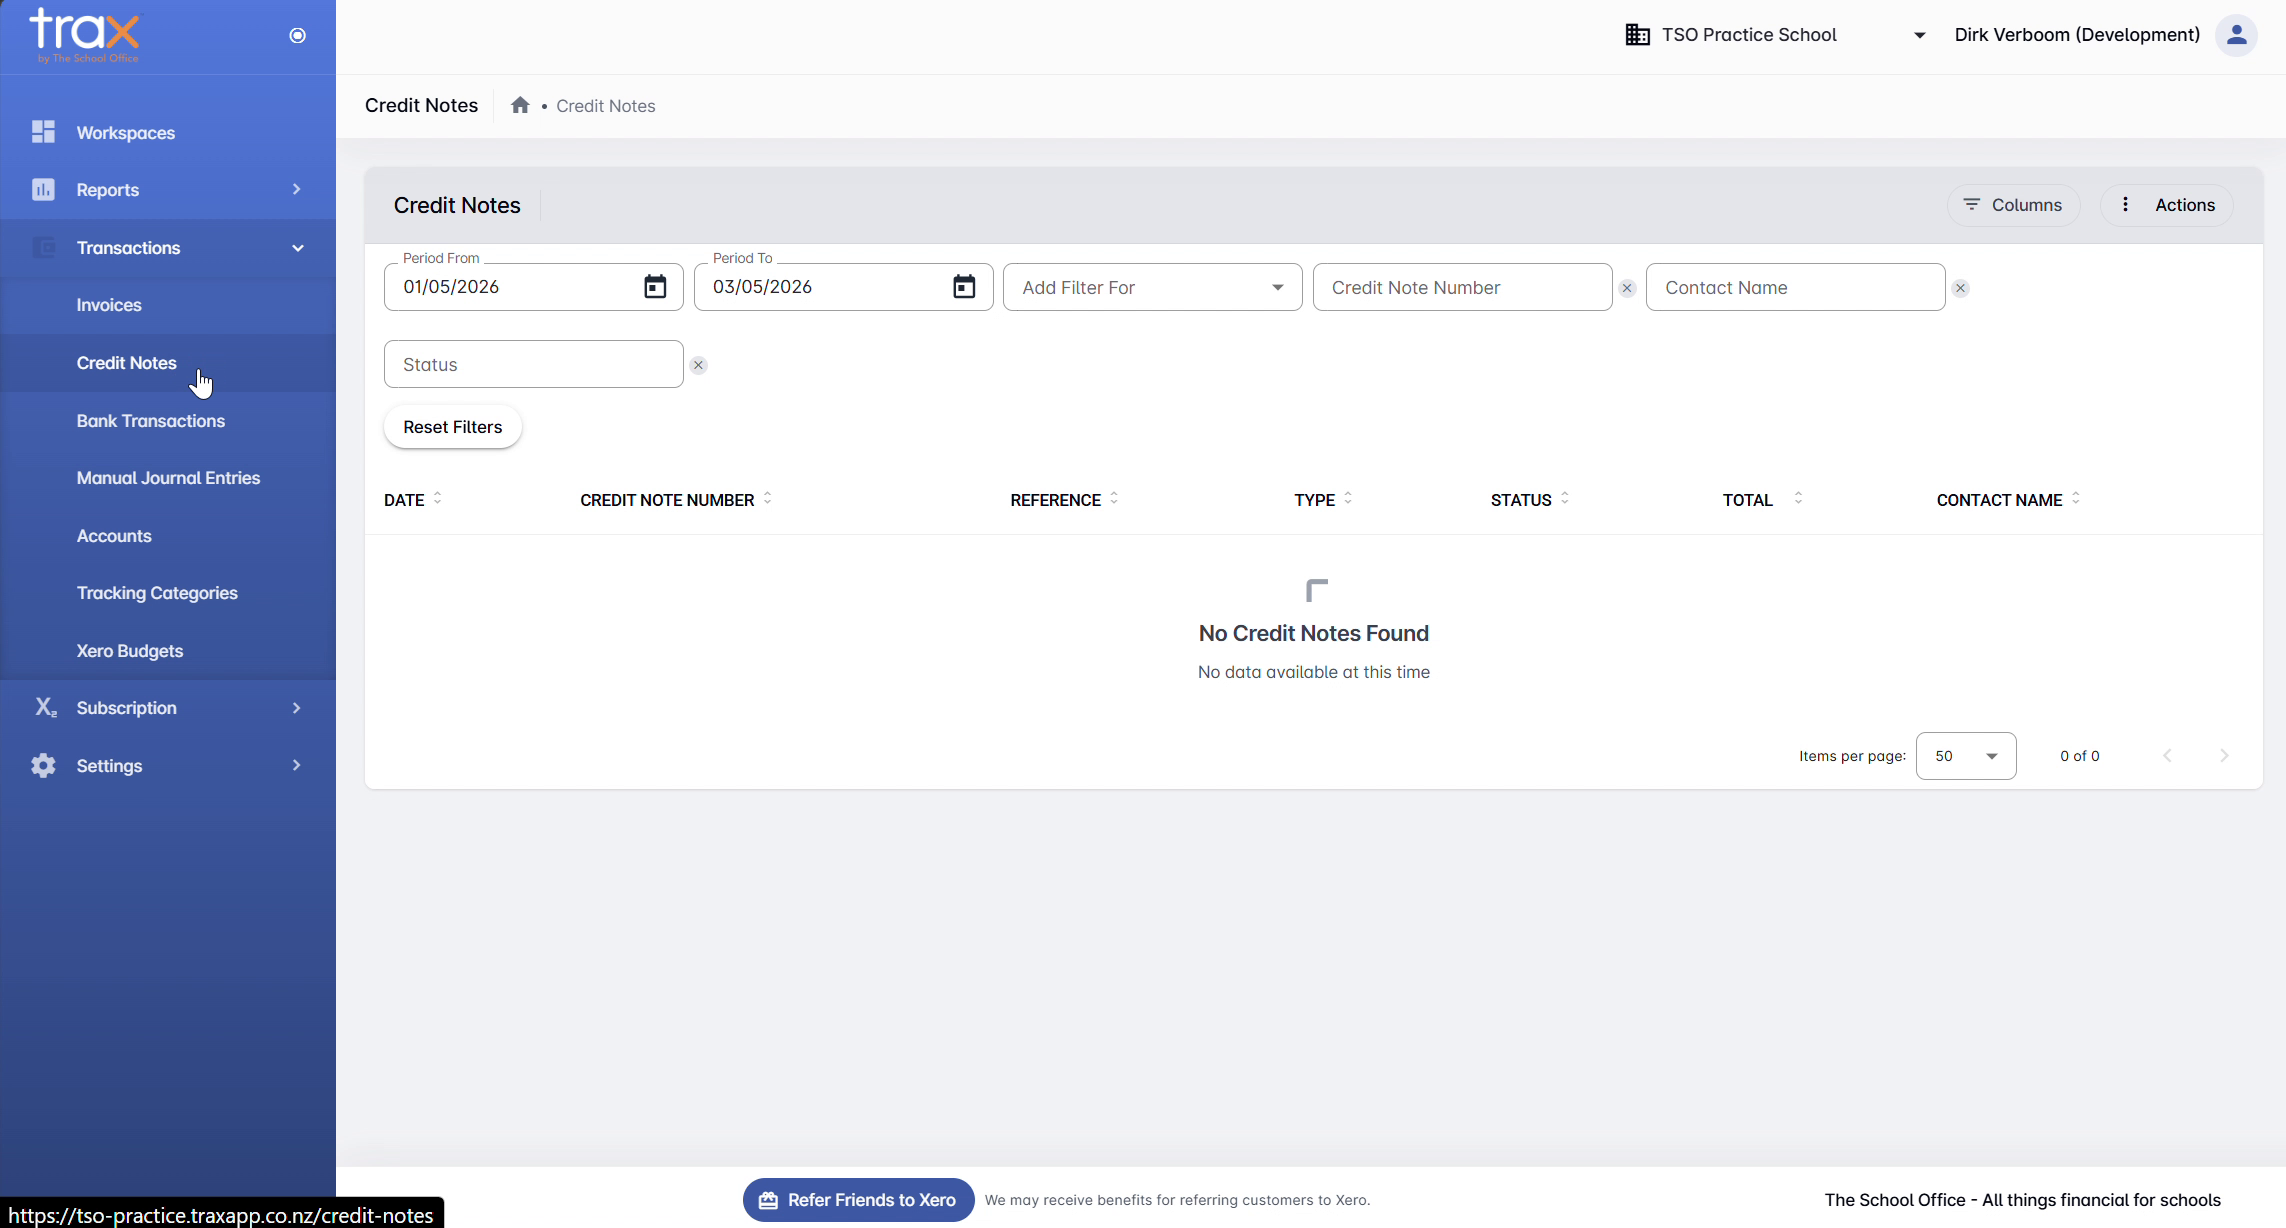
The Credit Notes page at a glance

The layout mirrors the Invoices page:
- Filters bar at the top — narrow the list by date range, credit note number, contact, or status.
- Action buttons in the top-right (Columns, Actions) — control which columns are visible and run sync operations.
- Credit notes table in the middle — sortable columns showing each credit note’s details.
Filtering credit notes
Use the Add Filter For dropdown to add or remove filter fields. Available filters:
- Credit Note Number — exact or partial match
- Contact Name — exact or partial match
- Status — credit note status (e.g. Authorised, Voided)
Click Reset Filters to clear everything.
Customising visible columns
Click the Columns button (top-right) to toggle which columns appear in the table.
Syncing credit notes from Xero
To pull the latest credit note data from Xero, click Actions → Sync Credit Notes. The Sync dialog opens with Start Date and End Date fields. Once both dates are filled in, click Sync to fetch every credit note from your Xero organisation in that date range.
The sync flow is identical to the Invoices page — see Invoices for full details and screenshots of the sync dialog.
Troubleshooting
“No Credit Notes Found” even after sync. Check the date filter at the top of the page — your synced credit notes may fall outside the current Period From / Period To range. Try clicking Reset Filters to see all credit notes.
Credit notes are out of date. Xero data isn’t pushed to TRAX automatically. Run Actions → Sync Credit Notes any time you need the latest data.
For anything else, get in touch with TSO support.