The Profit and Loss report shows departmental income and expense data pulled from your connected Xero organisation. Use the filters to narrow by date range and tracking categories, then export or email the result.
To open it, click Reports → Profit and Loss in the left navigation.
What goes into the report
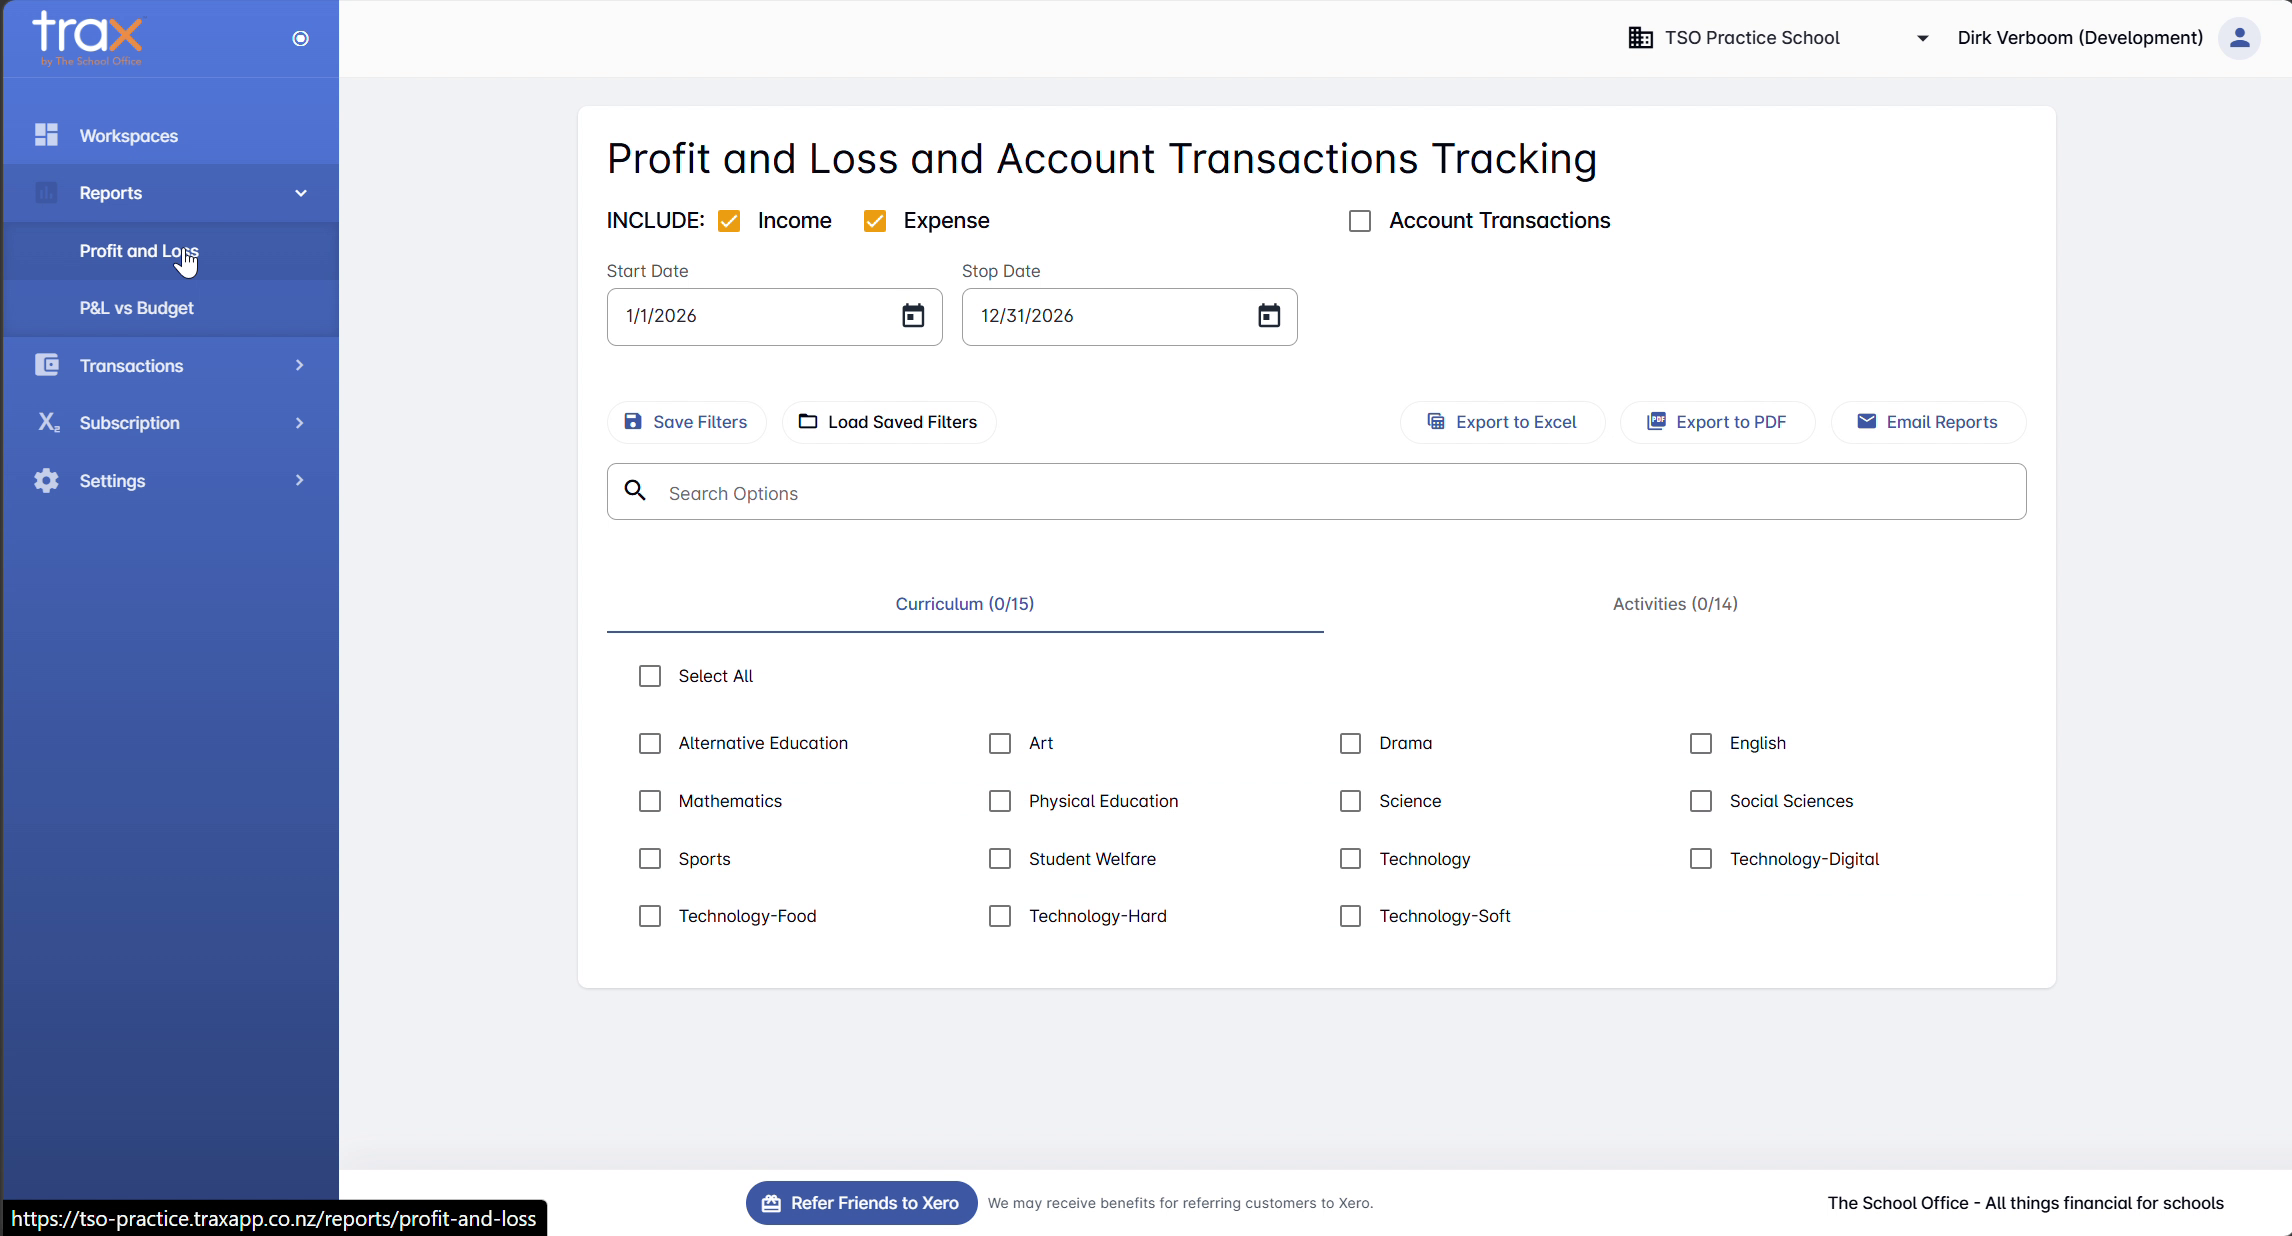
Three INCLUDE toggles at the top control the report’s scope:
- Income — include income line items
- Expense — include expense line items
- Account Transactions — include underlying account transactions (gives a more detailed view)
Toggle each on or off as needed.
Choosing the date range
Below the INCLUDE toggles you’ll see one or two date pairs:
- Profit & Loss Period — Start Date and Stop Date for the P&L summary itself
- Account Transactions Period — appears when Account Transactions is toggled on. Lets you set a different date range for the transaction-level detail.
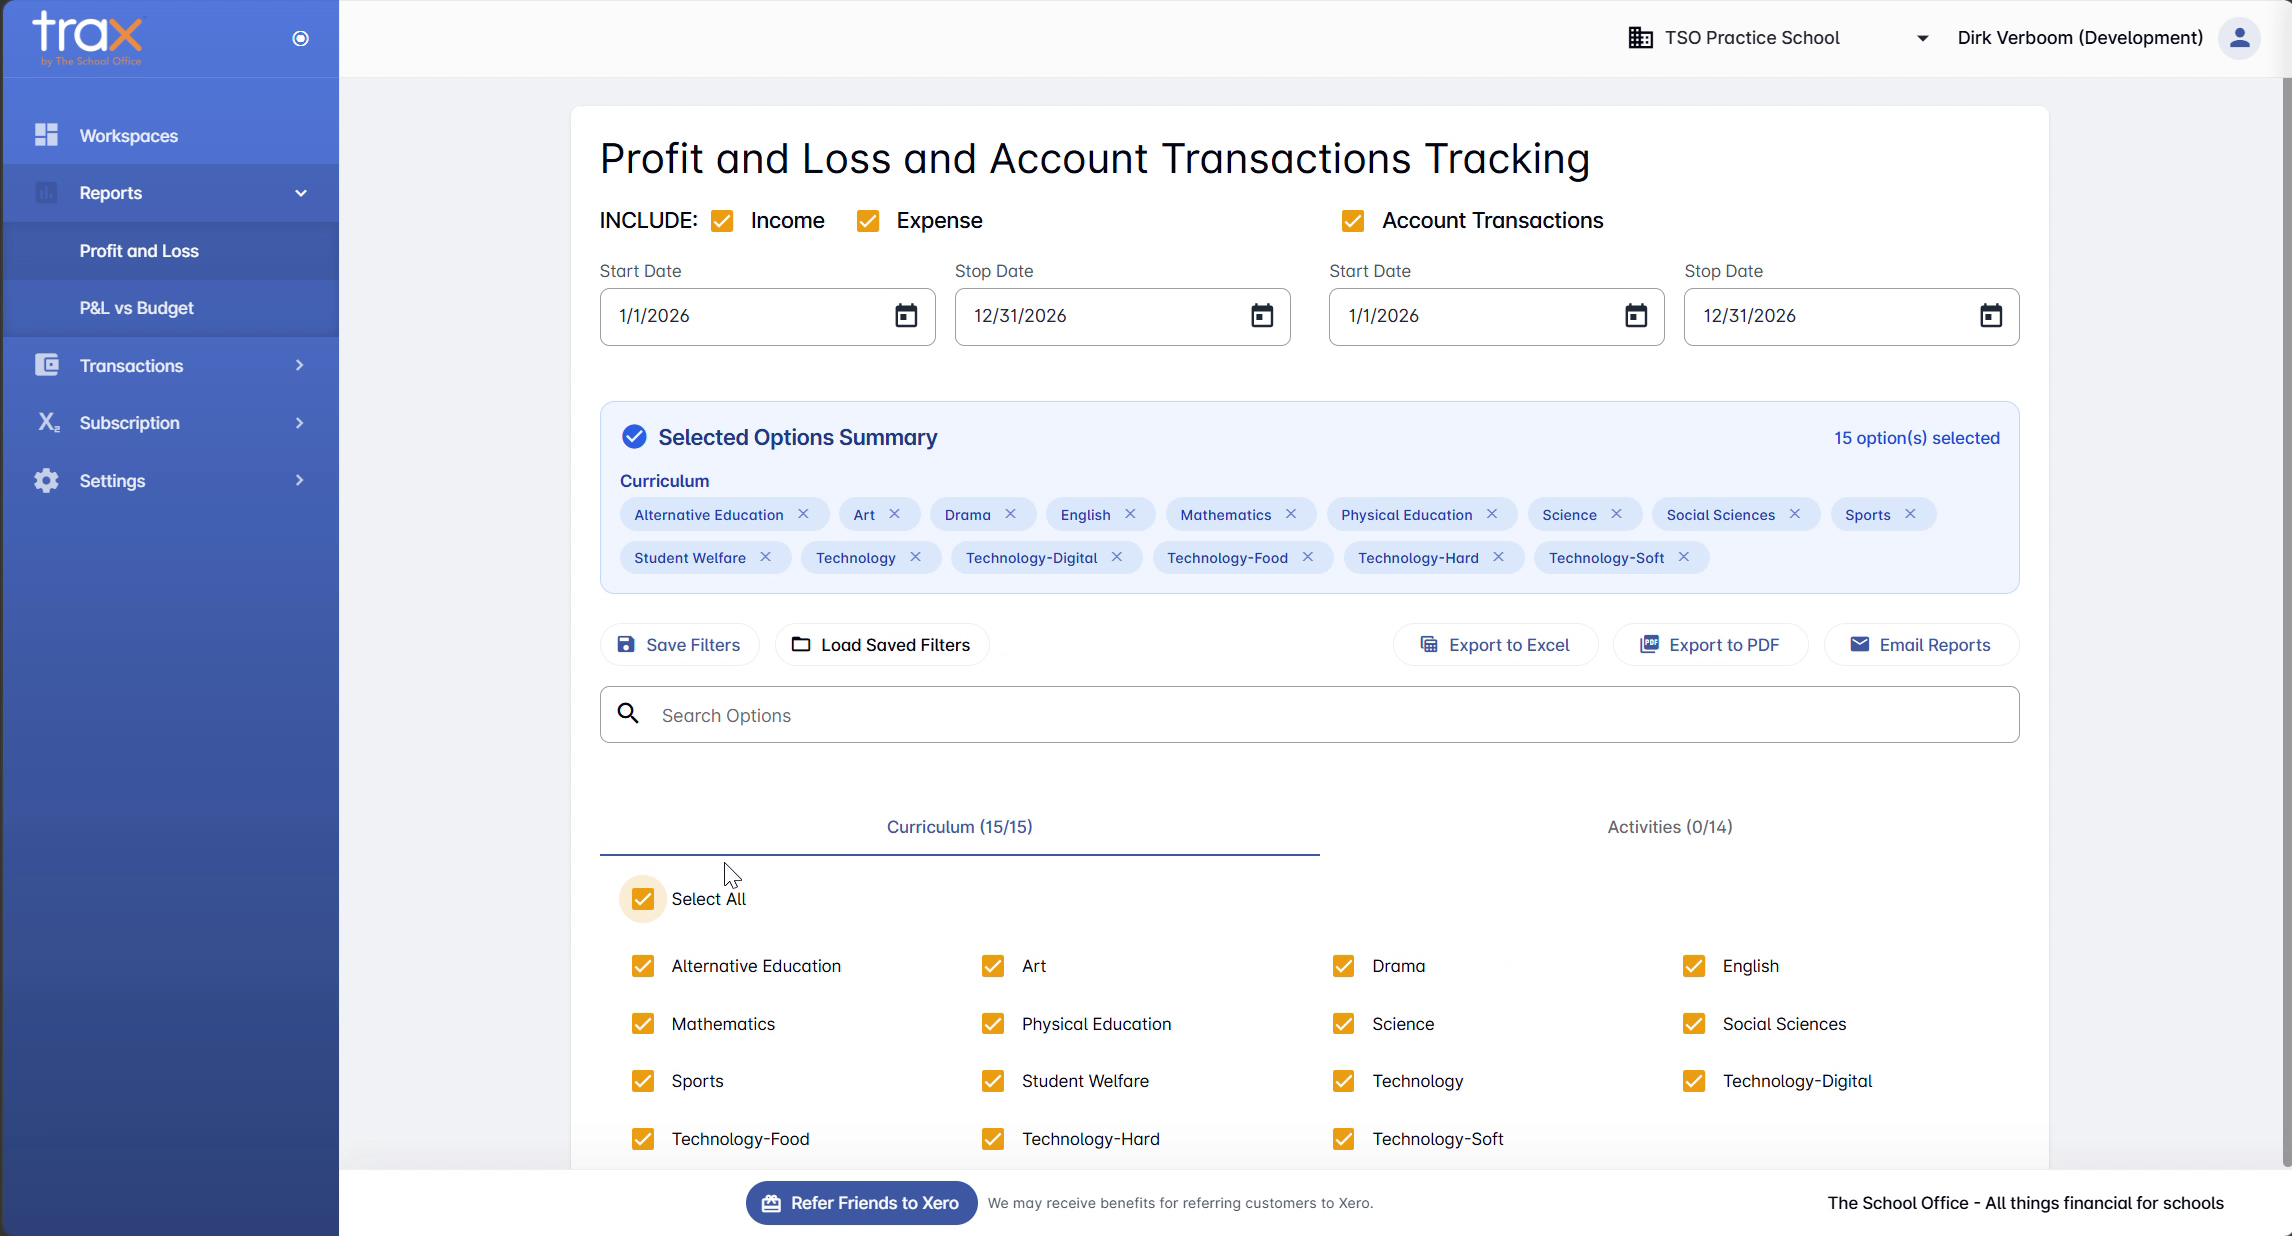
Filtering by tracking categories
TRAX pulls tracking categories directly from your Xero organisation, so you can slice the report by department, programme, or any custom dimension Xero is tracking. In a typical school setup you’ll see two groups:
- Curriculum — subject areas (Mathematics, English, Science, Drama, etc.)
- Activities — extracurricular or school-wide initiatives (School Camps, Sports, year-level activities, etc.)
The exact categories you see depend on what your Xero organisation has set up.
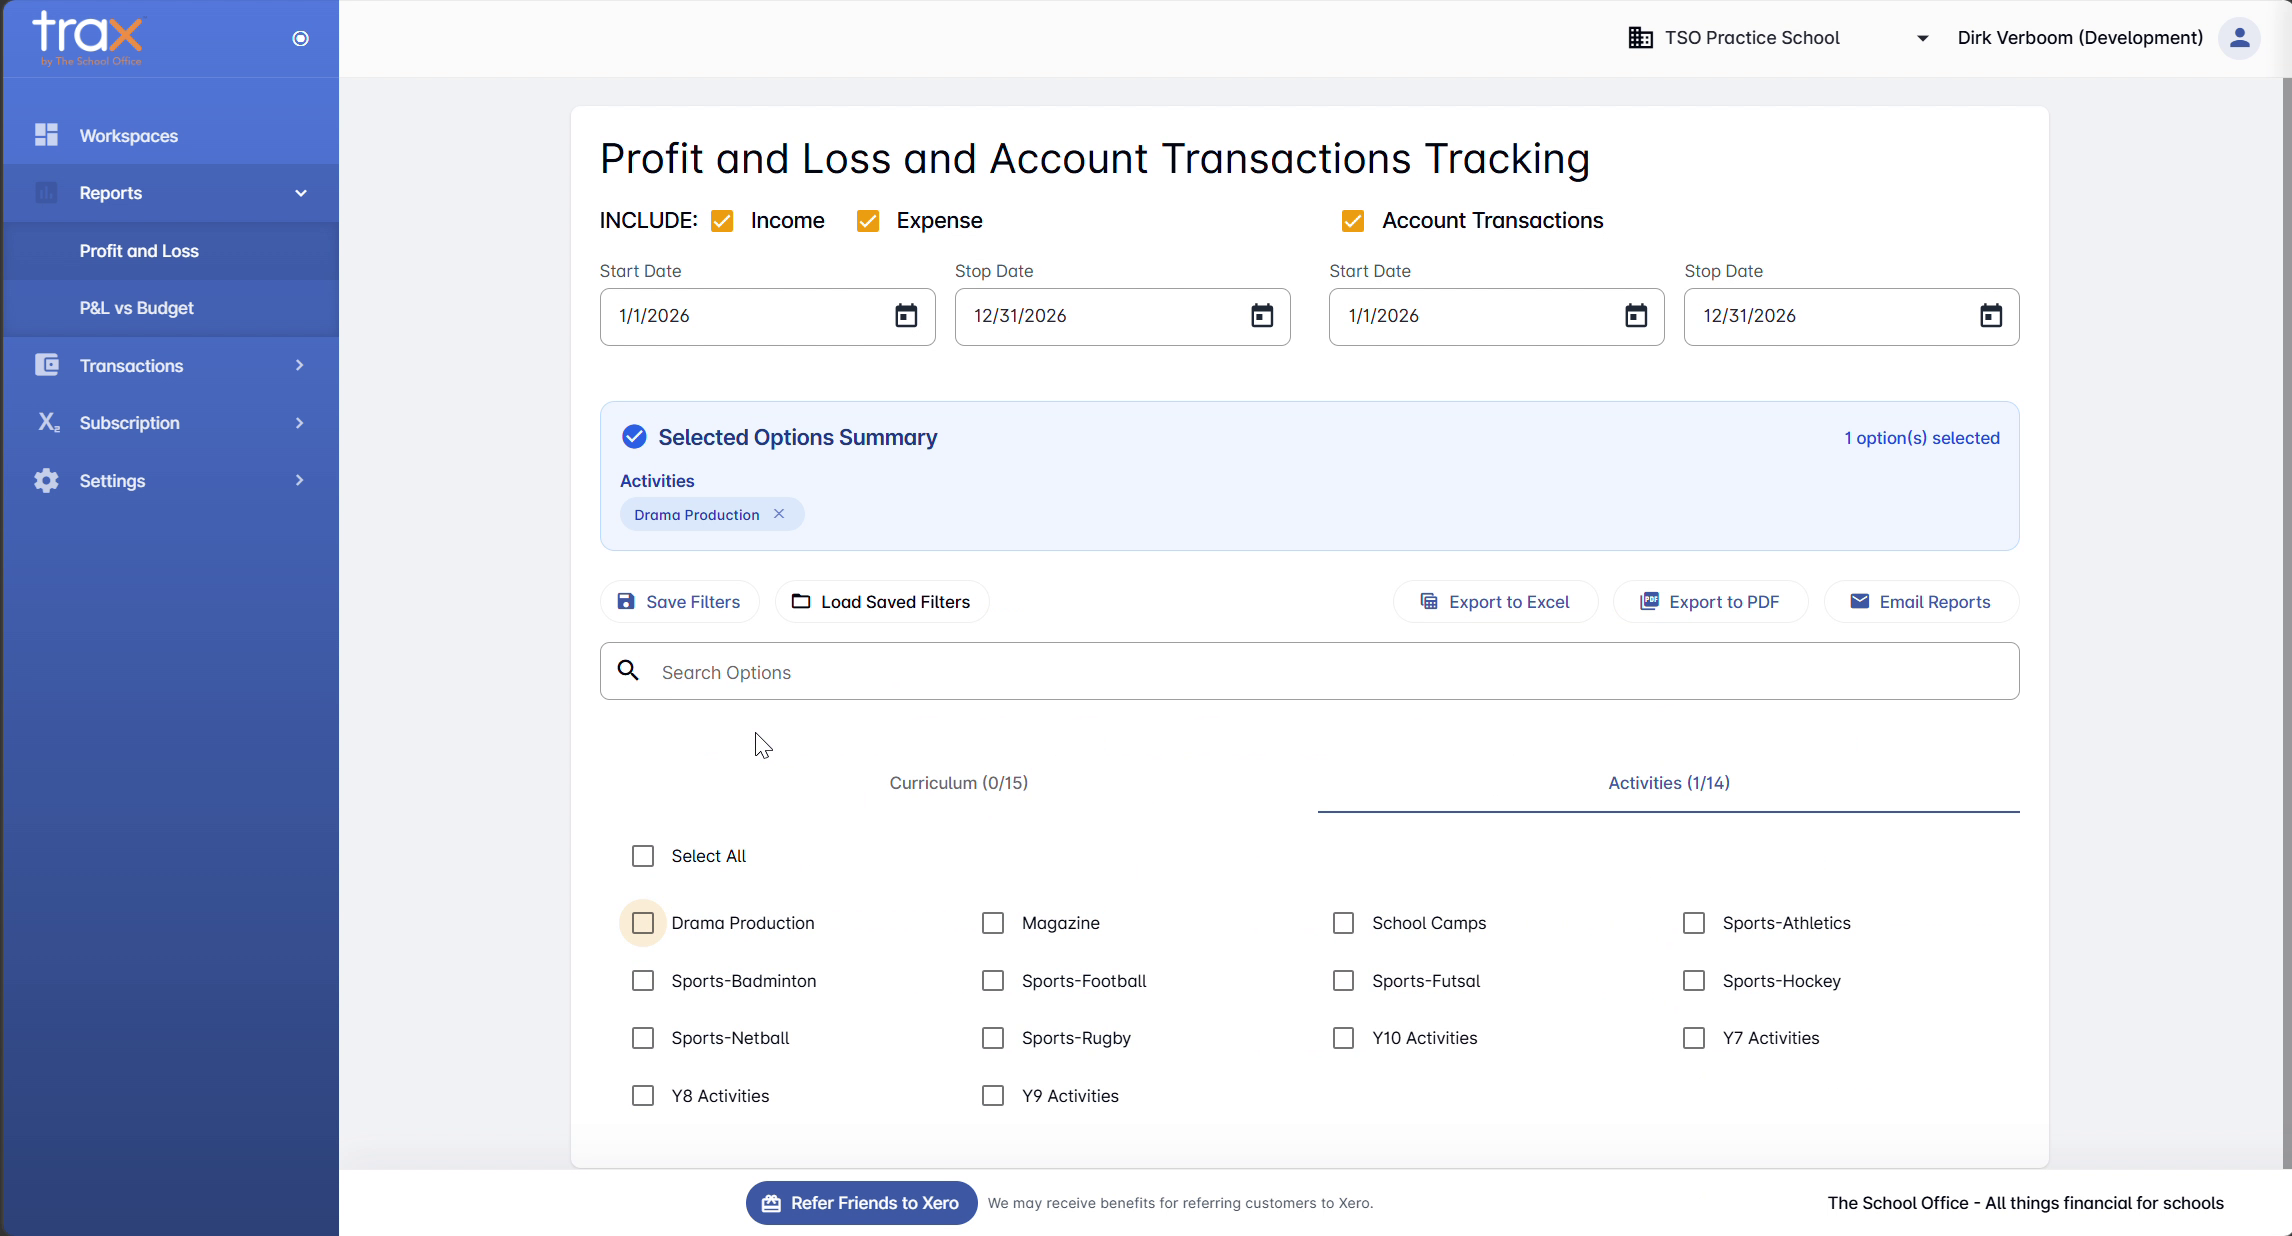
Click a tracking-category tab to expand its options. Each option appears as a chip — click to toggle. The tab counter shows “(N/M)” — N selected out of M total.
Use Select All to include every option in the category. Use the Search Options box to quickly find a specific category in long lists. A Selected Options Summary panel on the right shows everything currently selected — click the X on any chip to remove it.
Toolbar actions
Once filters are set, the toolbar across the top gives you:
- Save Filters — save the current filter set as a reusable template
- Load Saved Filters — apply a previously saved filter set
- Export to Excel — download the report as an XLSX file
- Export to PDF — download as a PDF
- Email Reports — automatically email the report to nominated HODs (configured under Settings → Reports Emails)
Tips
- Save filter sets you use regularly. If you generate the same filtered report each month, save it once and load it next time.
- Account Transactions adds depth. Turn it on when you need the line-item transactions backing the P&L summary, not just the totals.
- Use Email Reports for distribution. Pre-configure HOD email addresses in Settings → Reports Emails, then trigger automated sends from here.
For anything else, get in touch with TSO support.