The Users page lists everyone who has access to your TRAX workspace, along with each person’s role. From here you can add new users directly (different from the email-invitation flow on the Invitations page — covered separately).
To open it, click Settings → Users in the left navigation.
The Users page at a glance
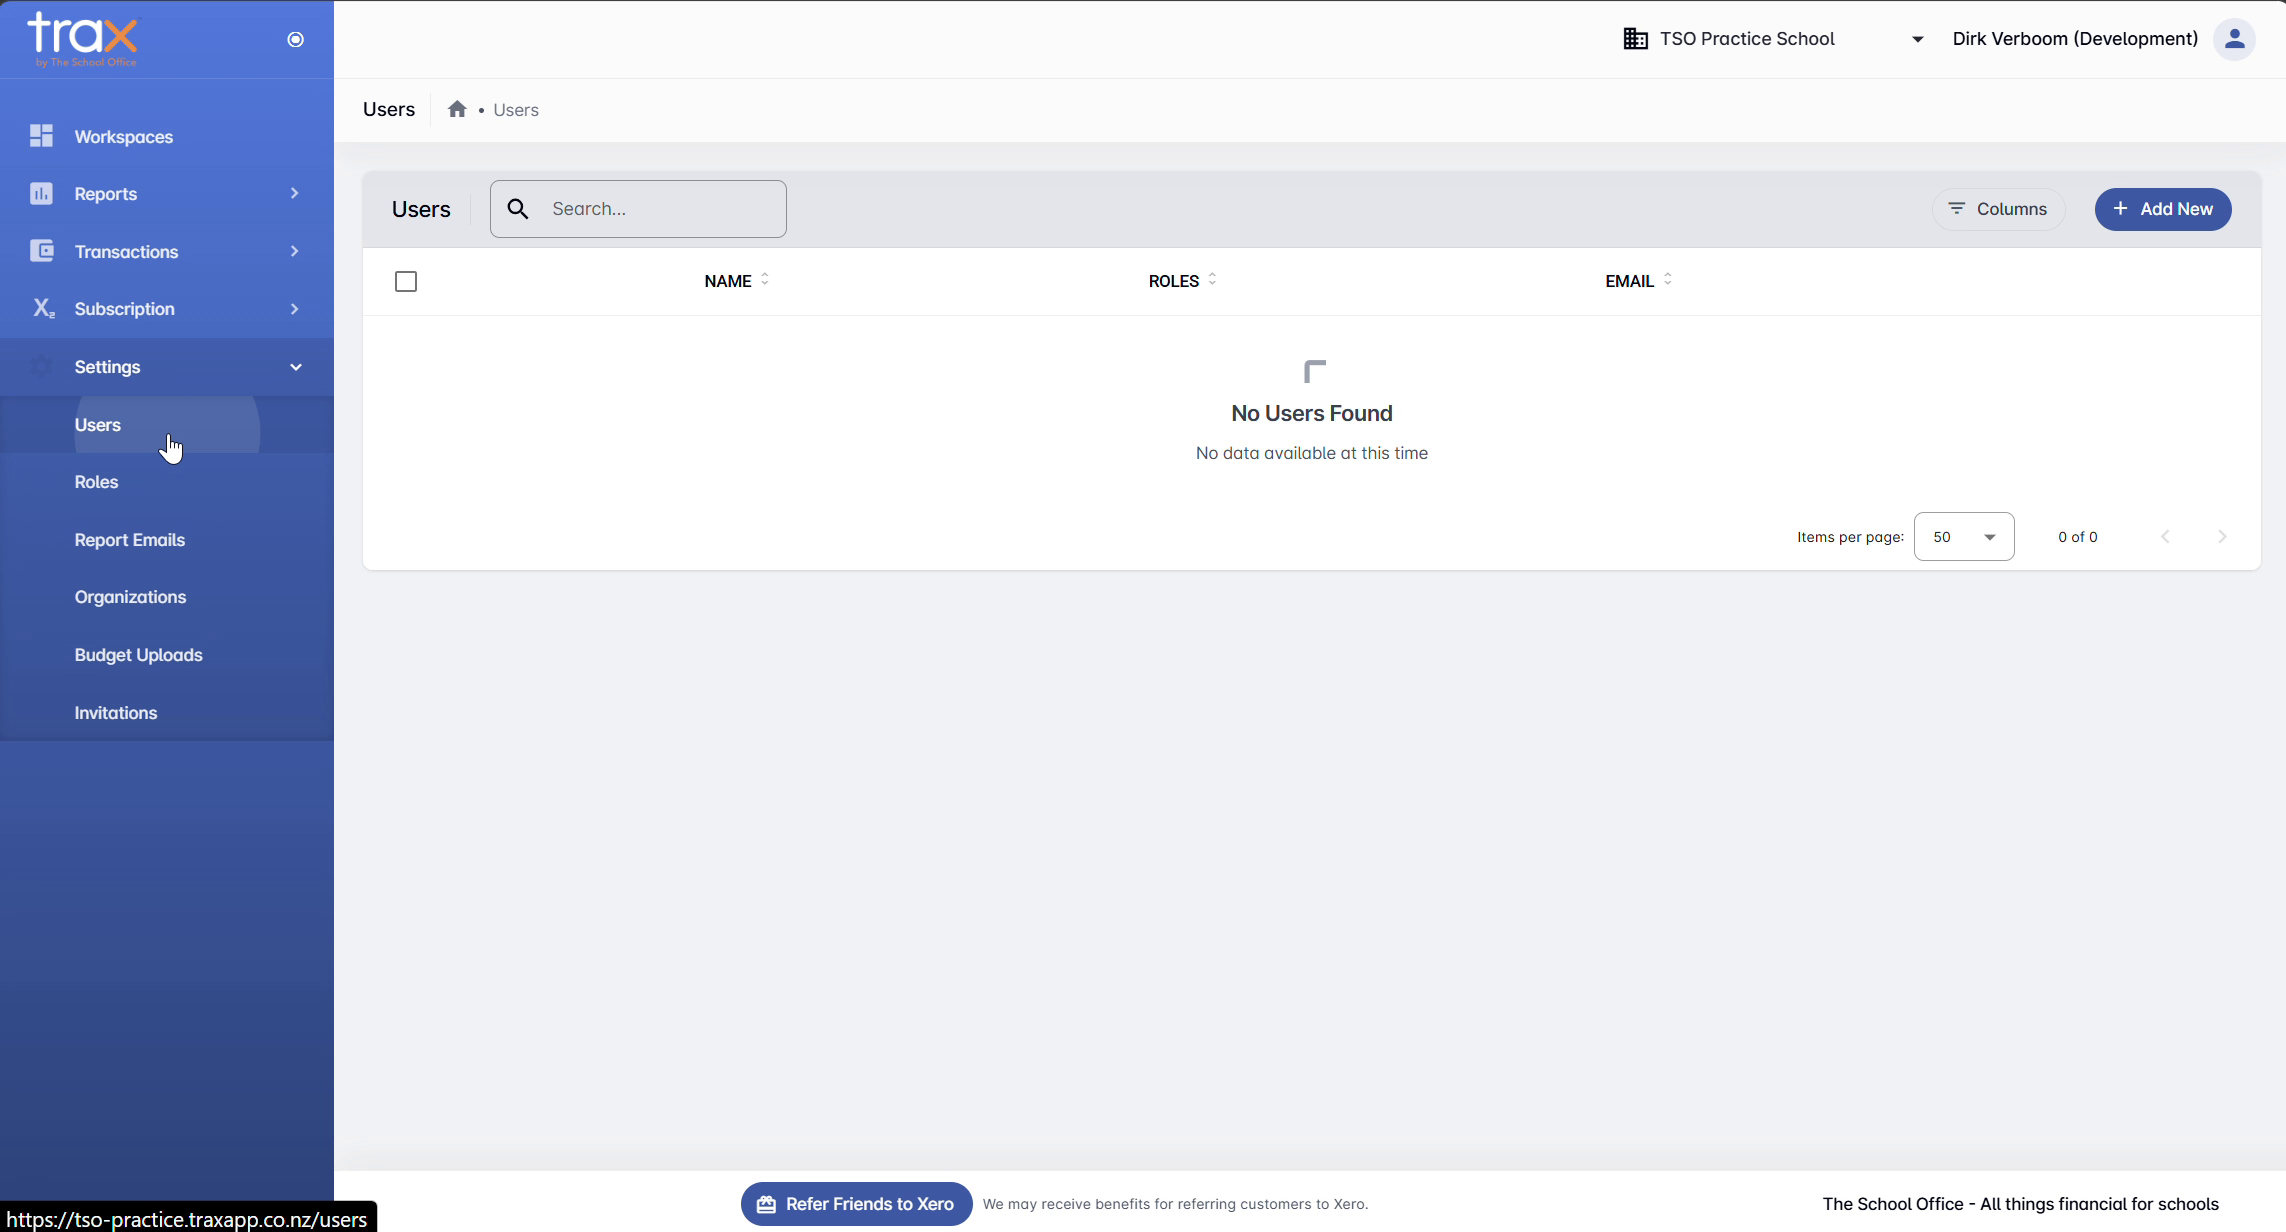
The page shows a list of users with three default columns: Name, Roles, and Email. Click any column header to sort. Use the Search box at the top to find a specific user by name or email.
The Columns button (top-right) lets you toggle additional columns if needed.
Adding a new user
Click + Add New in the top-right. A New User dialog opens.

Fill in:
- Name — the user’s full name (required)
- Email — the email address they’ll use to sign in (required)
- Role — pick from the dropdown. Defaults are Admin and User; any custom roles created via Settings → Roles will also appear here.
Click Create User to save. The new user appears in the list immediately.
Users vs. Invitations
This page creates user records directly. To send someone an invitation by email so they can accept and join the workspace themselves, use the Invitations panel — see Managing workspaces.
Tips
- Use roles to limit access. Don’t make everyone an Admin — create a custom role with just the permissions each person needs.
- Match emails to Xero identities. If a user logs in with Xero SSO, the email here must match their Xero account email.
For anything else, get in touch with TSO support.